Prepare the migration
Cognito
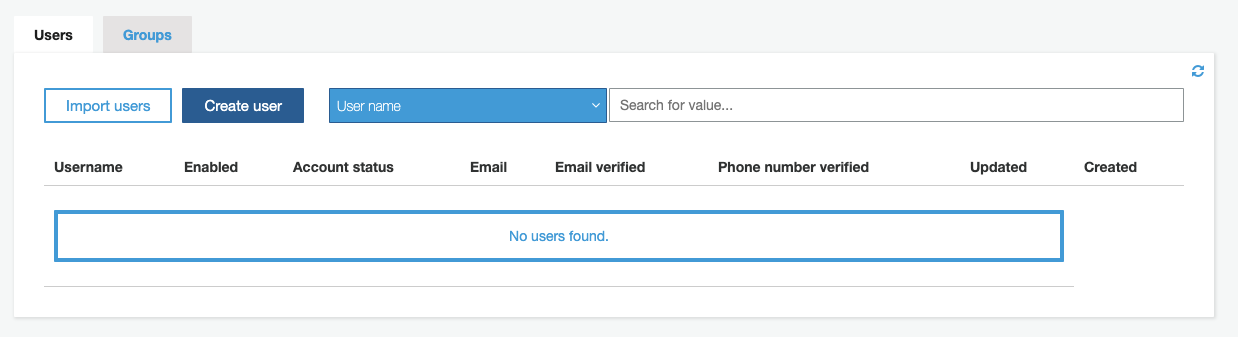
Return to the outputs from the cdk deploy and find the AesMigrationLabStack.CreateUserUrl. Click that link (or copy-paste to your browser).
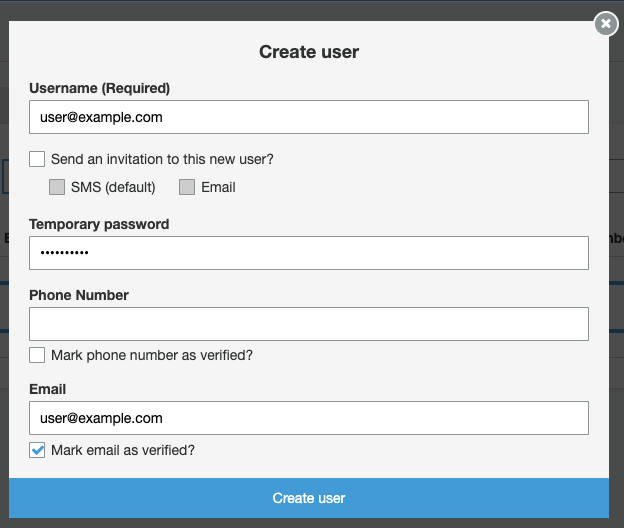
Click Create user
In the following dialog, give the user a name (it must be an email address), uncheck the Send an invitation to this new user checkbox, and add a temporary password (it must include an upper-case letter, a lower-case letter, a number, and a special character). Unclick the Mark phone number as verified check box. Fill in the Email field, and keep the Mark email as verified checkbox checked. Click Create user
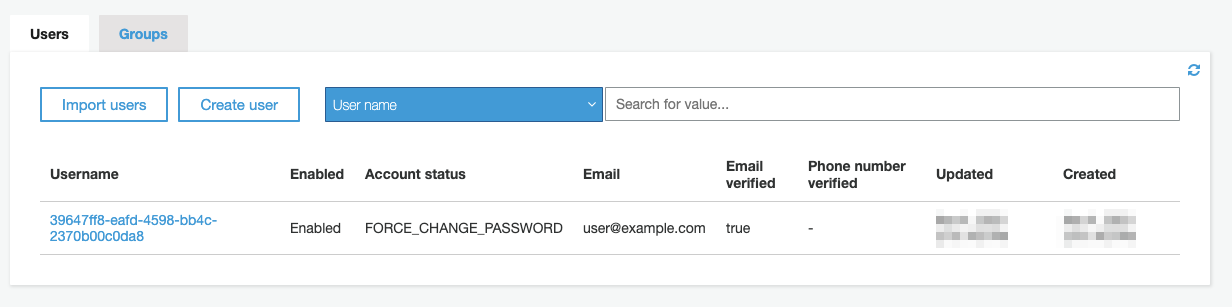
You can see the user in the console
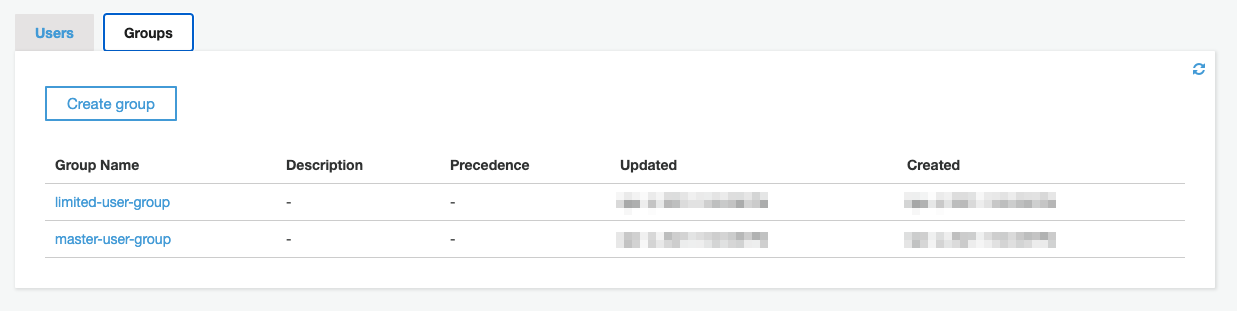
Click the Groups tab to add this newly created user to the Admins (master-user-group) group.
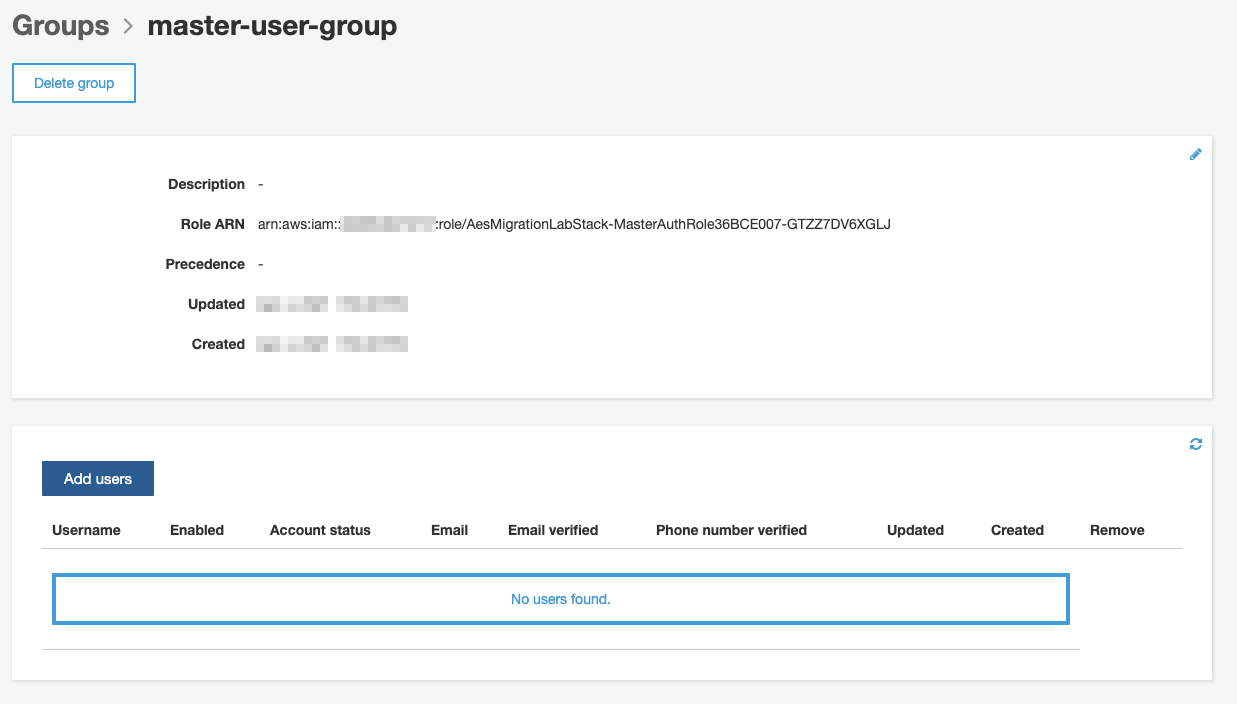
Click the master-user-group link.
Scroll down and click Add users
You should see the user you just added below the search bar.
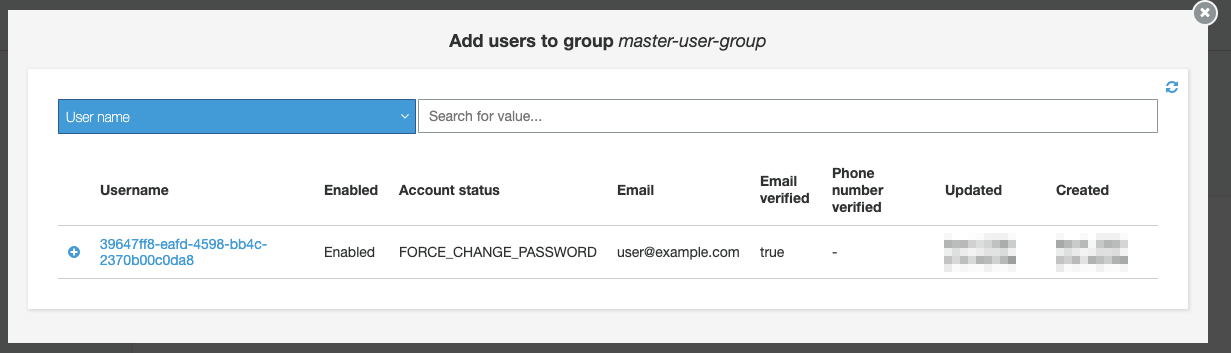
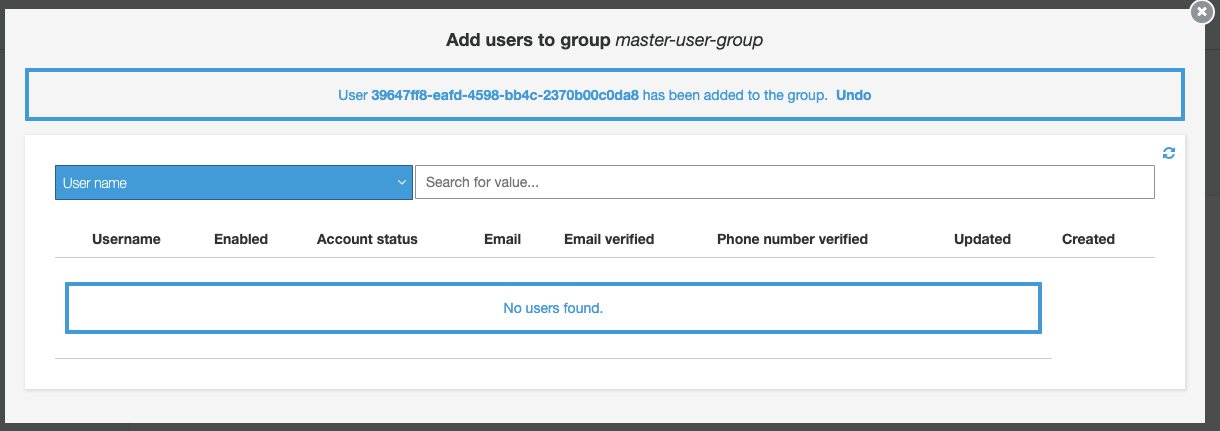
Click on the tiny + on the left to add the user to the group.
Kibana
Connect to Kibana by returning to the cdk deploy output and copy-pasting the value of AesMigrationLabStack.KibanaNewUrl, to the browser’s address bar.
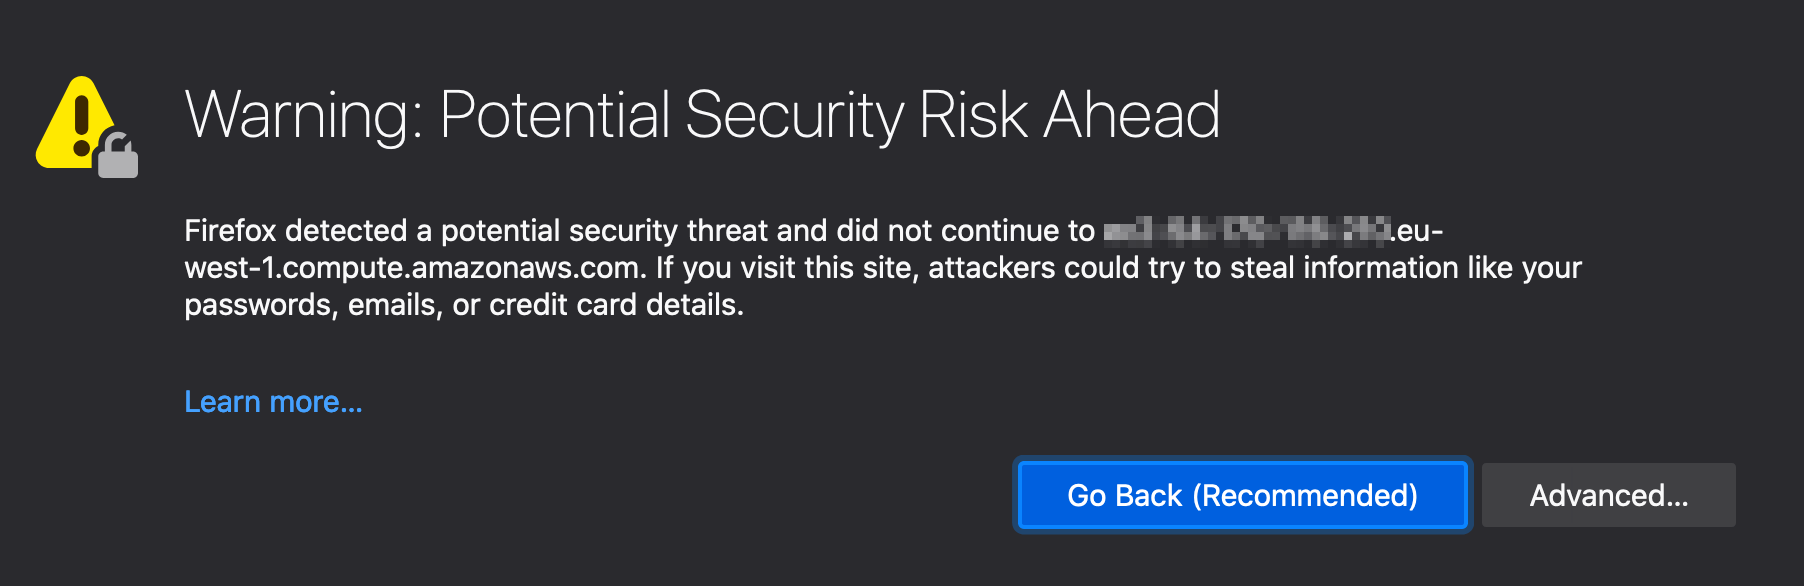
Because we are using a self-signed certificate in this Lab, you will need to accept the security concern here. The communications are still encrypted in transit, it is just that the certificate is not trusted because issued by an unknown authority from the browser’s perspective.
Note that in a production environment, you need to use a valid certificate, issued from a trusted certificate authority.
(If you are using FireFox, you will see something like the below. Click the Advanced… button)
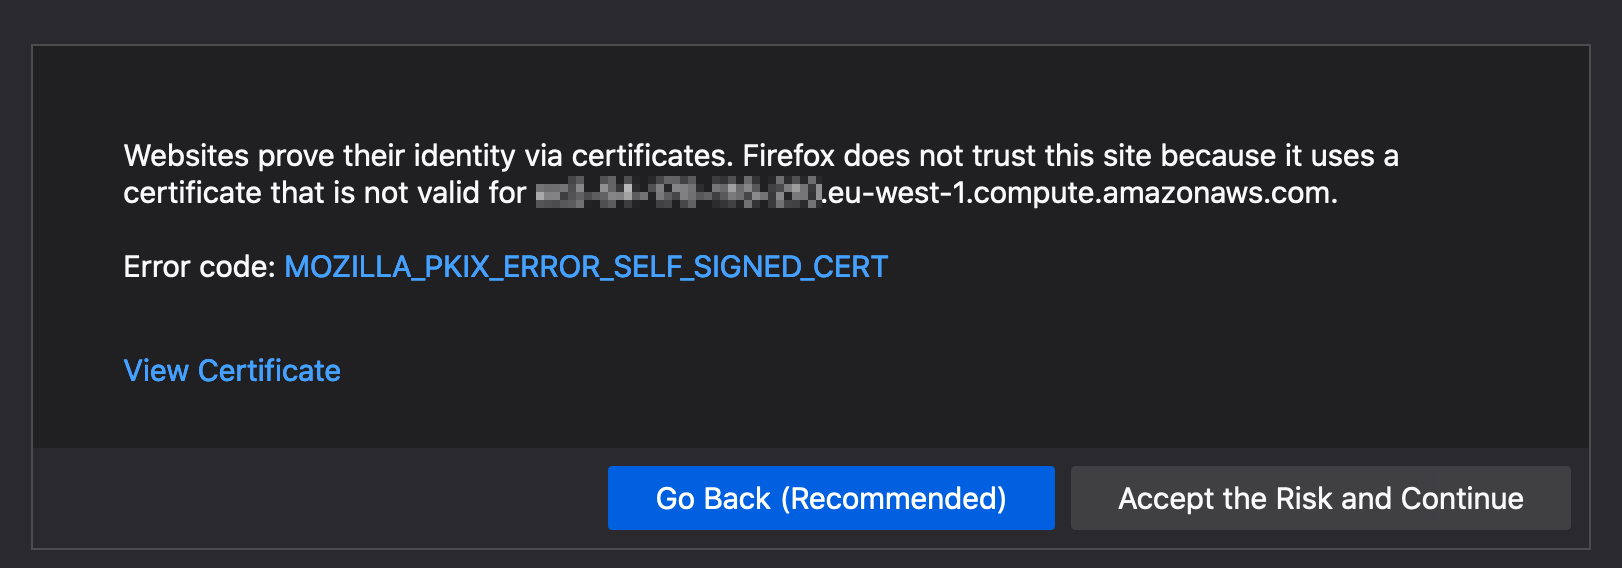
Click Accept the Risk and Continue
Sign-in with the temporary credentials from the user that you just created.
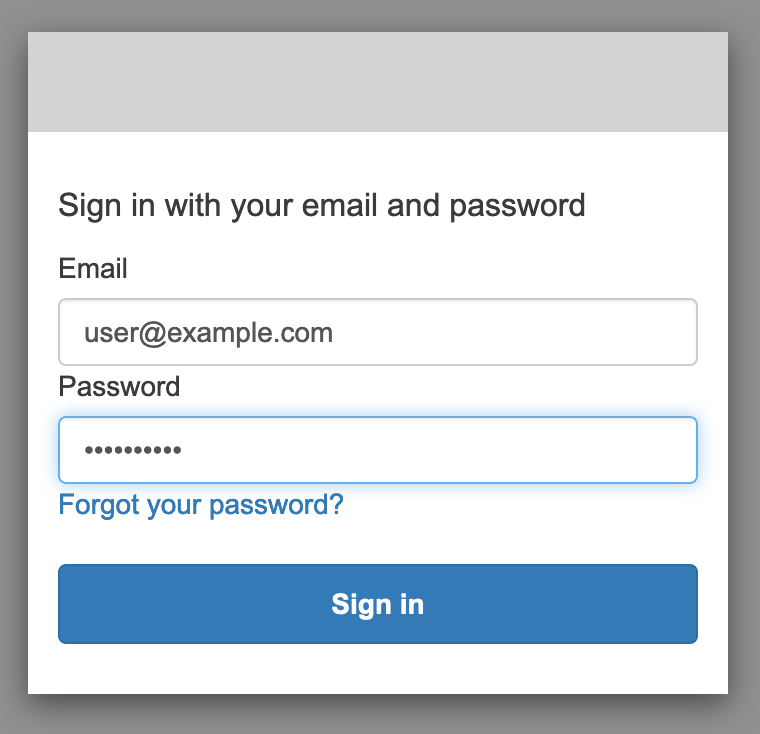
Change your password when prompted. Click Explore on my own in the splash page.
Map backend roles
We need to configure authorization for both Logstash and the API lambda by mapping their IAM role (backend role in Amazon Elasticsearch terminology) to an internal role that in turn gives permissions to perform certain operations.
In this section, we are going to create two internal roles and map the respective IAM roles to them.
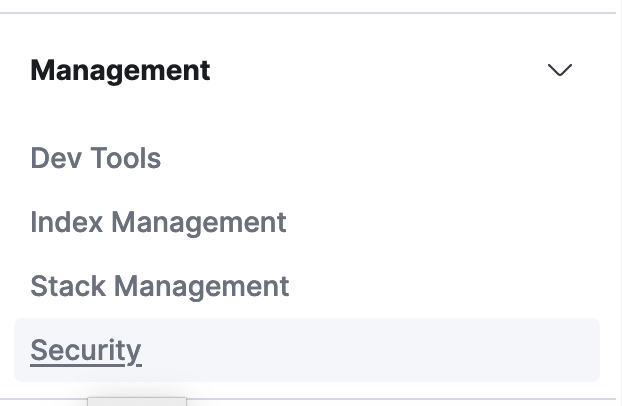
At the top-left of Kibana’s main page, click the three horizontal lines to reveal the menu bar. Scroll down to Management and click Security.
Click Roles from the left menu
Create a role for Logstash
Click the Create role button. Fill in the fields on the resulting page with the following:
- Name:
logstash-movies - Cluster permissions:
create_index,crud,indices:admin/template/put,cluster_monitor - Index:
* - Index permissions:
crud,indices_monitor,indices:admin/create
Note:
cluster_monitorandindices_monitorare there only to enable the_cat/indicesAPI.
Scroll down to the bottom of the page and click Create
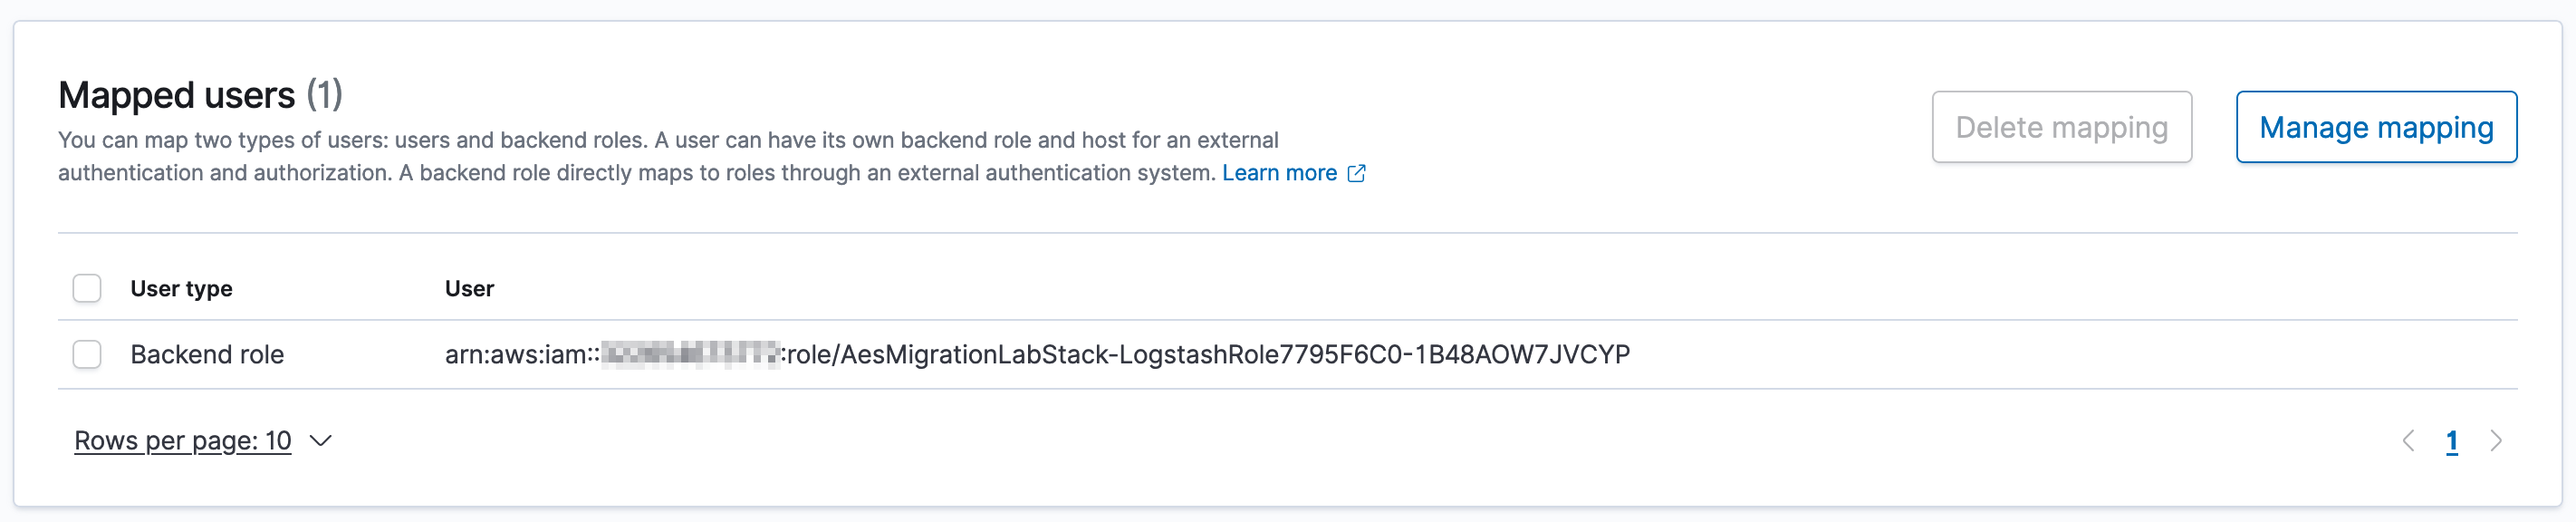
Scroll to the top of the resulting page and find the Mapped users tab. Click it and then click the Map users button.
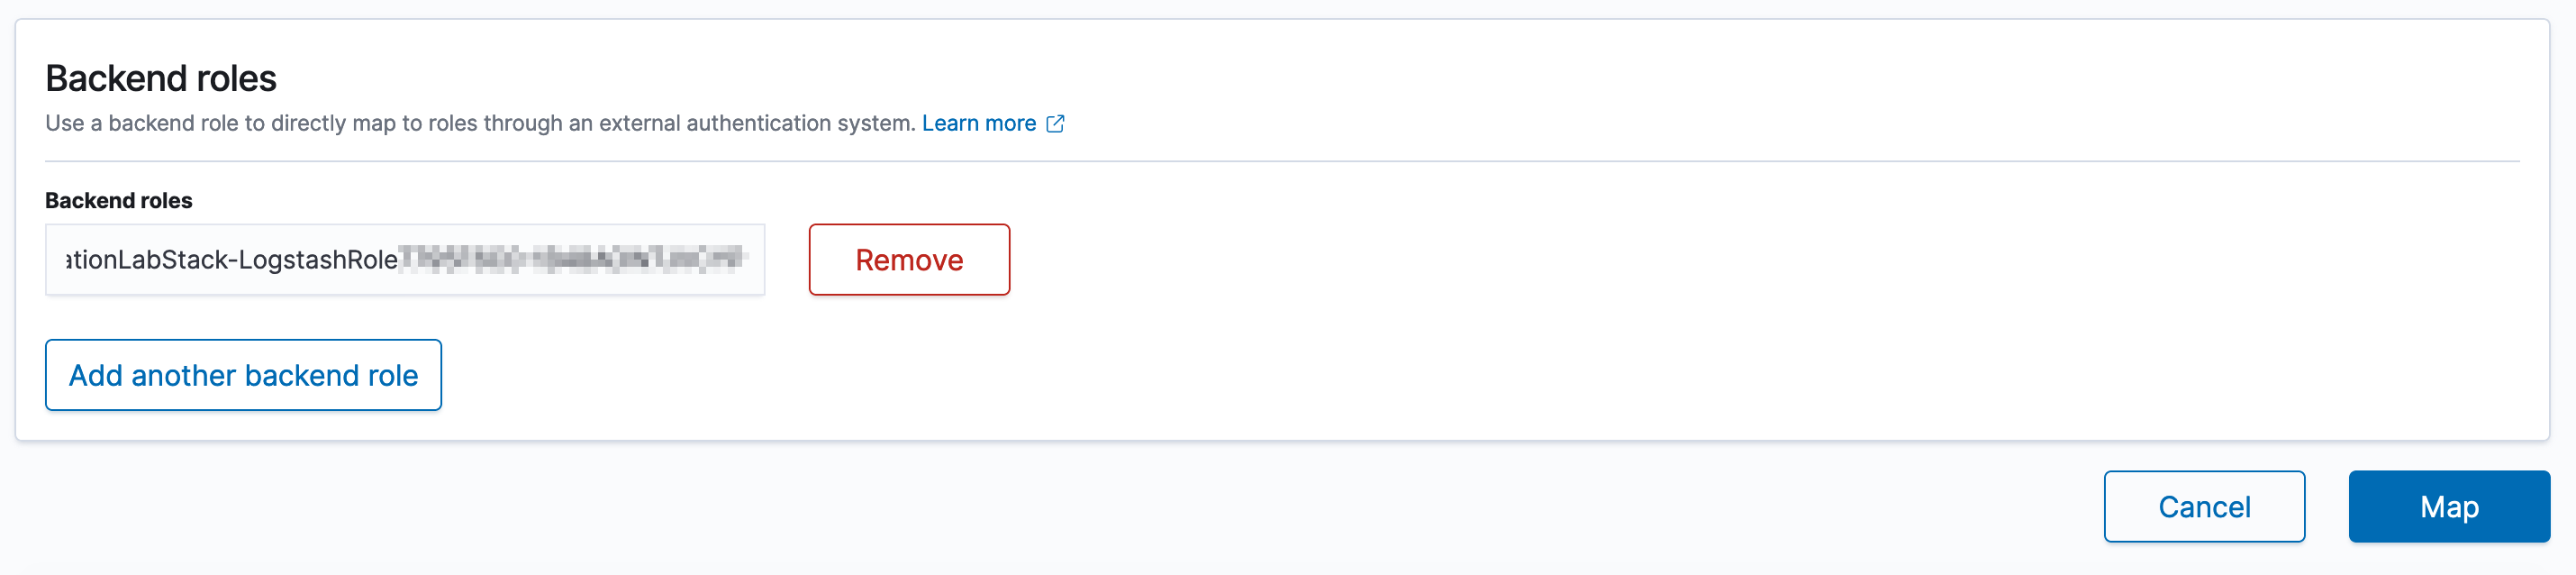
Locate the value for AesMigrationLabStack.LogStashRoleArn in the cdk deploy output, copy the value. Paste it into the Backend roles text box, and click Map.
Create a role for the API
You will see a breadcrumb at the top of the screen that has Security / Roles / logstash-movies. Click Roles to return to the Roles page and then click Create role.
Fill in the following values:
- Name:
application-movies - Cluster permissions:
read - Index:
movies* - Index permissions:
read
Scroll to the bottom of the page and click Create
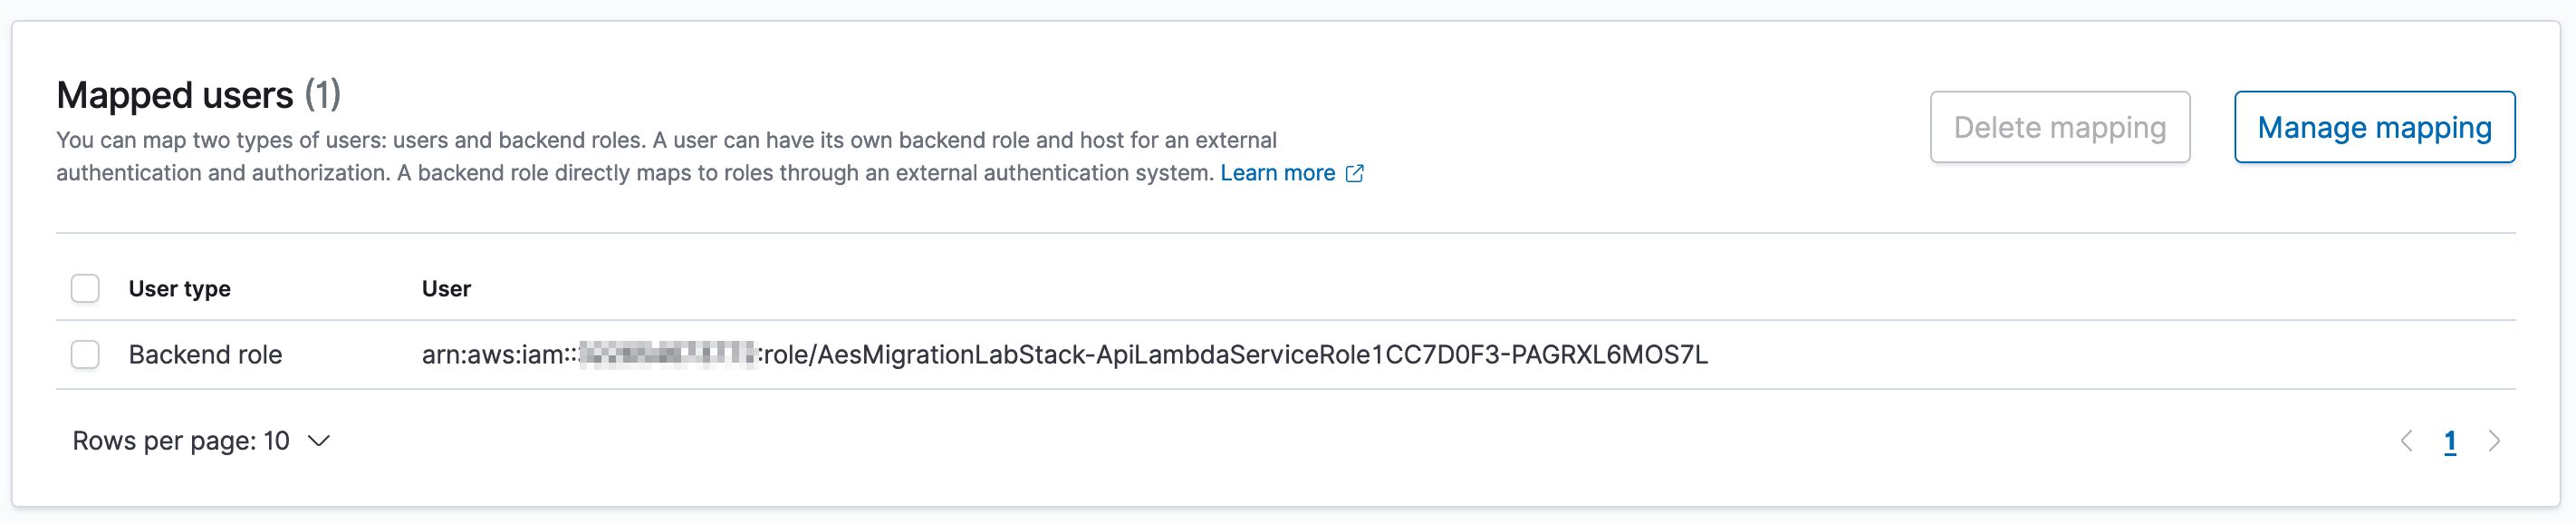
Return to the top of the page and click Mapped users then click Map users on the resulting page.
Locate the value for AesMigrationLabStack.ApiLambdaArn in the cdk deploy output, copy the value. Paste it into the Backend roles text box, and click Map.